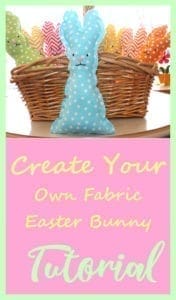
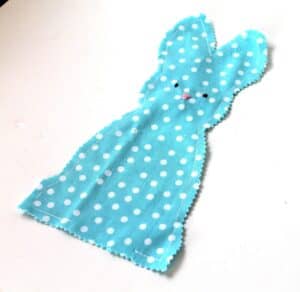
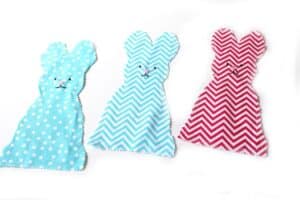
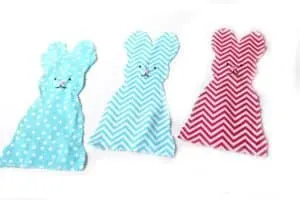
Sew your own Easter bunny and create a soft colorful gift or spring décor. I choose fun polka dots and tiny chevron in pink, aqua, yellow, green, & orange.
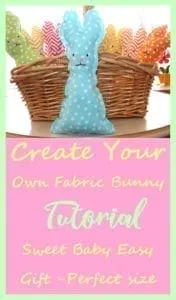
Learn how to make a cute fabric bunny with this free printable template. These bunnies would look great in an Easter basket or as addition for baby gifts!
They’re quick and easy-to help your kids get creative making their own crafts this year!. It is an easy sewing project if they know how to use a sewing machine.
You could have them hand sew the two piece together. It would take a little longer to make than with a sewing machine.
Make your own colorful bunny and give it as an Easter present, party decoration or just because you’re crazy about the bright colors! I’ve chosen fun polka dots in pink, aqua yellow green & orange.
Supplies:
- cotton fabric – 1/3 yd each – will make about 4 per color
- thread
- embroidery thread -black & pink
- fiberfill
- freezer paper
- pencil (to help stuff bunny)
Tools:
- pinking shears
- scissors
- sewing machine
- embroidery needle
- straight pins
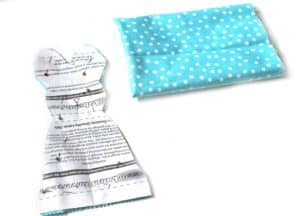
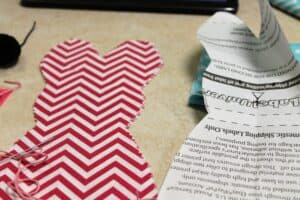
Step 1.
Print out bunny. Trace onto freezer paper and cut out. Pin to fold fabric. Cut bunny out, cutting through both layers.

Step 2
Use a pencil make a dot where the eyes are through the paper. Next make an another dot at the bottom of the nose.

Step 3
Cut a length of thread about 12 in. of black, using all 6 strands of thread. Using an embroidery need thread the need and embroider 2 black eyes and 1 mouth. I used 4 stitches starting just above the pencil mark. Make the first stitch small. Then make the next 2 larger center under the first stitch. Then make 1 more smaller stitch to match the top. Use pink thread for the nose. I started at the dot making a small stitch then increasing each time. You could also use felt or a sharpie or fabric paint pin.

Step 4.
Use straight pins to pin both layers of the bunny together. Use your sewing machine to sew the bunny together using 1/4 in seam allowance. Start at the bottom about a 1/2 in from the 1 side. Sew around the either bunny. Go slow and pivot as needed. Leave a 2 in opening at the bottom. Don’t forget to back stitched at the start and end.
Step 5.
Stuff the bunny with polyfil. Start with the ears. Use something to help stuff. I used the eraser end of a pencil.
Step 6.
Sew the whole closed using the sewing machine. Push the edges together and smash the filling down.
If you’re looking for a last-minute Easter craft, we have just the thing. This easy tutorial will show you how to make a fabric bunny in no time at all.
All you need is some basic sewing skills and a some fabric. So what are you waiting for? Get started today and have an adorable new addition to your Easter décor.