I am getting my Christmas buying list ready this week and it made me think of Christmas crafts. My little girl will enjoy making a Christmas ornaments craft for kids.
I love to make crafts with supplies around the house because it is inexpensive and easy to get. You probably won’t even need to run to the store or buy any supplies online.
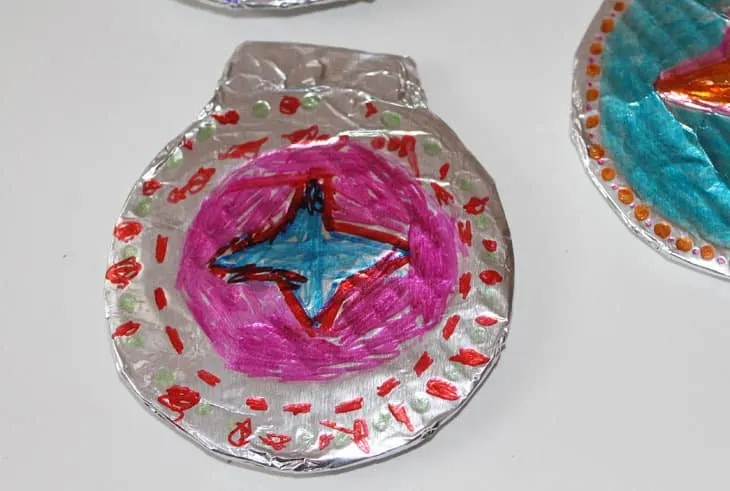
This homemade Christmas ornament kid craft is great. It uses items you have at home and is quick and works well for several ages. You can make simple design or get very detailed depending on age and desire.
I do use permanent markers, so you want to have your child wear an apron, push up their sleeves, and cover the area you working on.
Looking for more fun Christmas ornaments to try? Try this fun and easy DIY wood reindeer ornament, paper plate ornament, or one of these fun 99 Christmas crafts.
There are affiliate links in this post. I will receive a small commission if you purchase through these links at no additional cost to you.
Tin Foil Christmas Ornaments Craft for Kids
Supplies
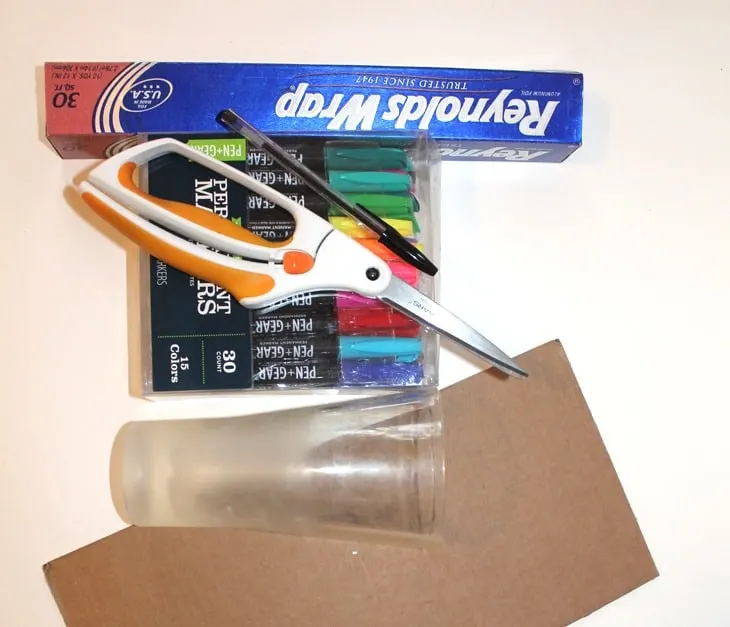
- permanent markers
- aluminum foil
- scissors
- glue, glue dots, or double sided tape
- a round cup to trace for a circle
- cardboard
- a pen or pencil to trace
- something to cover your work area – I used a plastic trash bag
Colorful Christmas Ornament Craft
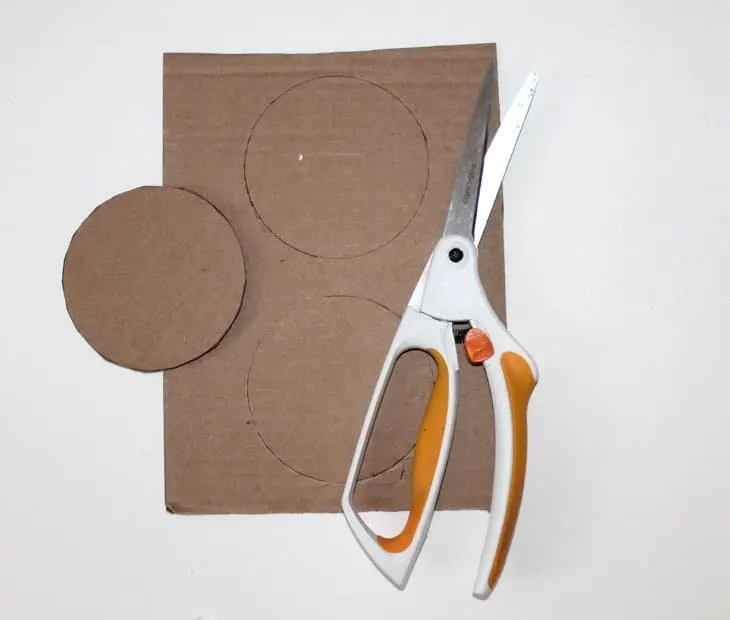
Step 1. Trace a circle using the cup on your cardboard with a pen. Repeat until you have as many circles as you want, if you stagger the circles you can fit more in.
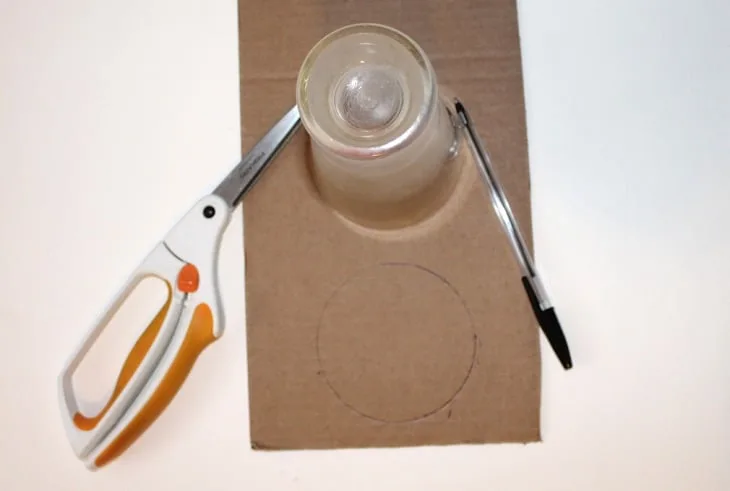
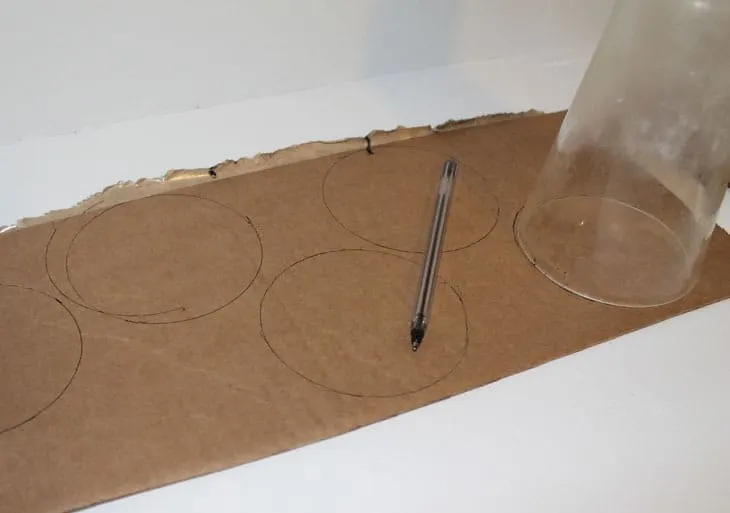
Cut out the circles using either a pair of scissors or an Exacto knife (Exacto knife is for an adult use only). Cutting out the circles is a little hard. I would suggest an adult does it for younger children.
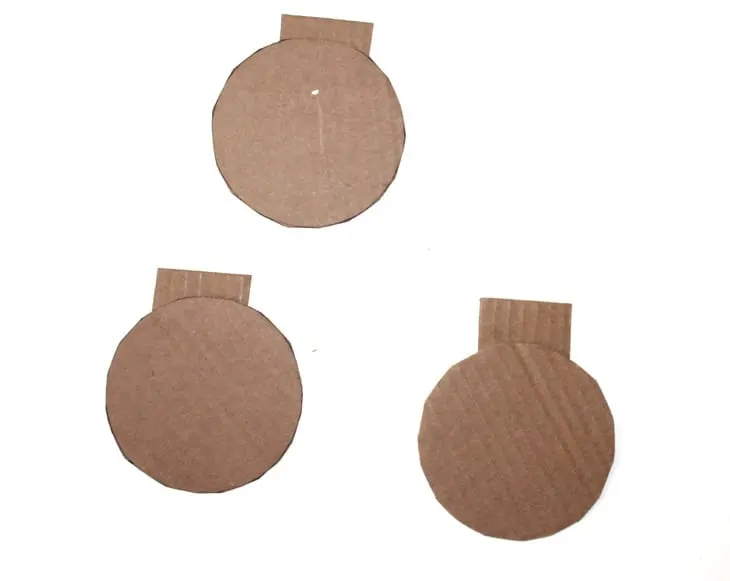
You want to cut a long strip of cardboard about 1 1/2 inches wide. Then cut the strip into 1 inch pieces.
Step 2. Use the glue dots, double sided tape or glue to attach the rectangle to the top of the circle in the center.
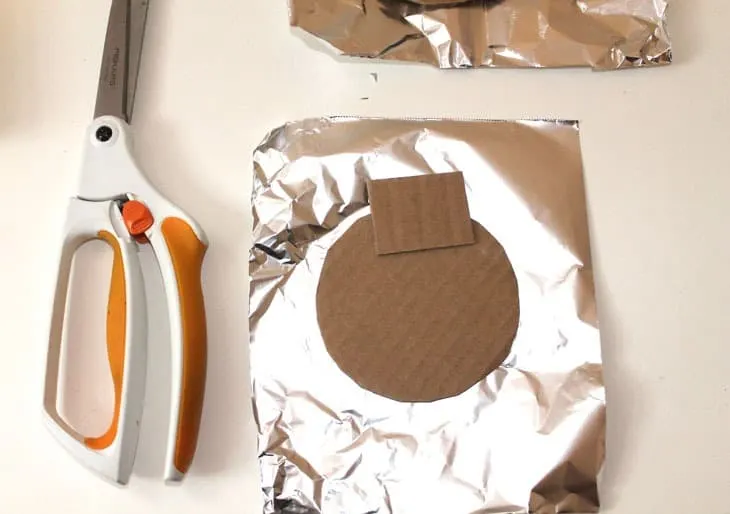
Step 3. Cut out a piece of aluminum foil at least 1 inch larger than the ornament. I used the ornament as a guide on the foil and then cut it into pieces.
Put the shiny side of the fold down and place the front of the ornament down in the center of the foil.
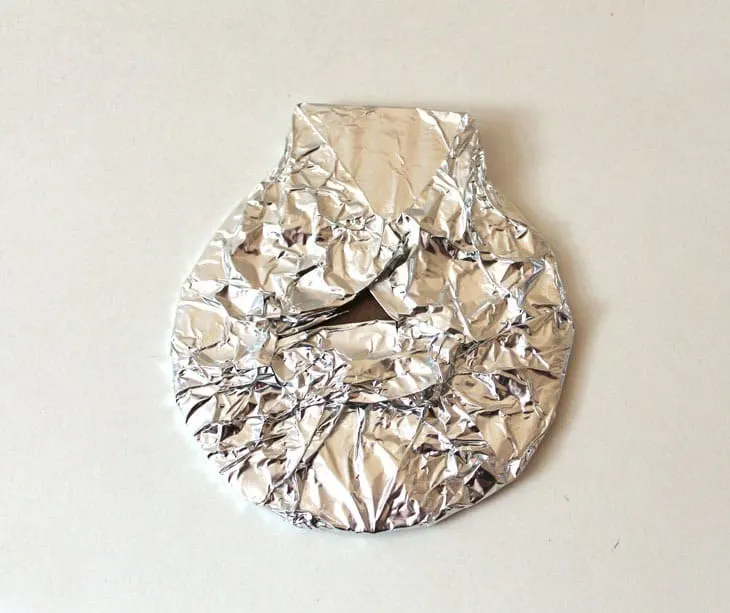
Carefully fold the foil around the end of the ornament starting with the top straight part. Do this gently. The foil can tear easily. You can glue the foil to the back. To finish it cleanly you could put a circle of foil or felt.
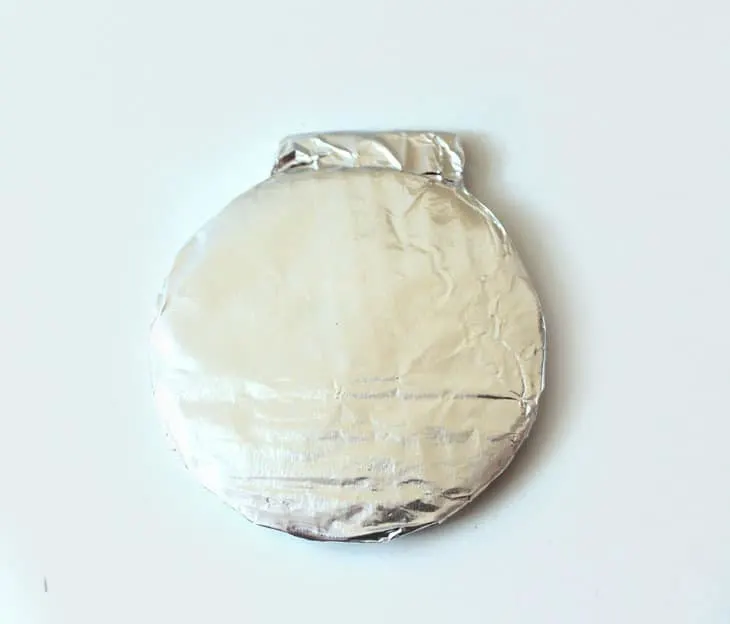
Step 4. Cover your workspace if you haven’t already. Put on an apron and pull your sleeves up. Decorate your ornament with the permanent markers. Permanent markers will stain clothes and surfaces. Let dry.
You can also try Christmas stencils. I have some from scratch art that would work great. You just need to make sure they are small enough to fit on the ornament easily.
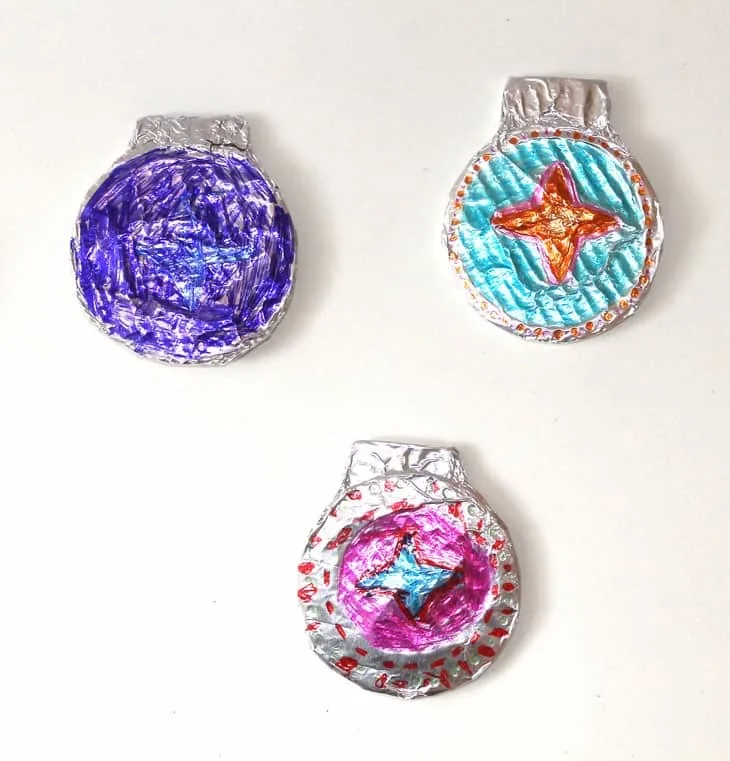
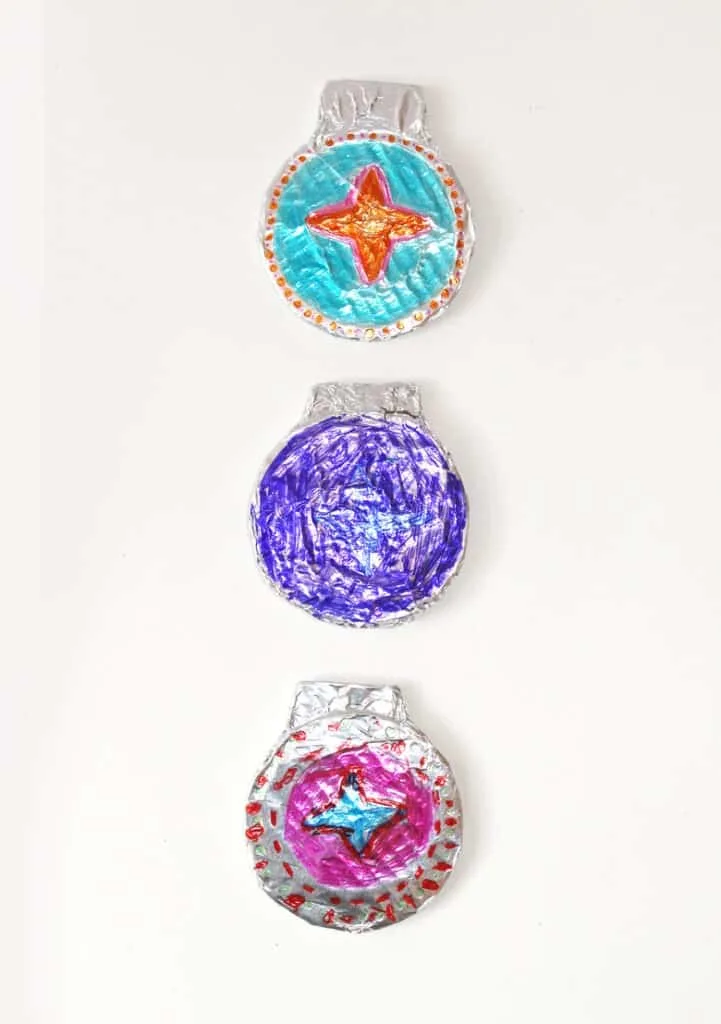
Glue a piece of ribbon to the back for hanging on the tree and let dry. You could also try punch a hole through the top part in the center. Enjoy your colorful handmade ornaments.
Pin for Later
Other Christmas Crafts for Kids
- Christmas Kid Crafts
- Reindeer Kid Crafts
- Christmas Tree Crafts
- Santa Kid Crafts
- Wreath Kid Craft
- Elf Kid Crafts
- Gingerbread Crafts
- Christmas Ornaments
- Angle Kid Crafts
- Paper Plate Christmas Ornament Kid Craft
- Tissue Paper Christmas Tree Craft
- Fingerprint Christmas Tree Craft
- Wood Rudolph Ornament Craft
Winter Kid Crafts
- Winter Kid Crafts
- Penguin Kid Crafts
- Snowflake Kid Crafts
- Snowman Kid Crafts
- Winter Activities – Math & Reading
- Fingerprint Snowman Kid Craft
- Arctic Kid Crafts
- Tissue Paper Winter Tree Craft
