I am always looking for easy and fun crafts for my preschooler to do. This paper plate bunny craft is great, it doesn’t need many supplies and you get a toy to play with too.
A toddler could do this preschooler craft, if you cut the parts out first, if they are not cutting yet. You scale it up for older kids and let them decorate it like they want.
You can pick the supplies up at your local grocery store in the office and picnic section, if you don’t already have the paper plates.
This preschooler bunny craft would be great for an animal theme, or Easter. You could also use it for the Letter B craft. Pair with a bunny book and craft and read together.
Pair this craft with a book for creating and reading fun. We like Little Blue Truck’s Springtime.
Looking for more spring fun crafts? Try this hyacinth paper craft or fingerprint cherry blossom craft. There are also more than 50 spring crafts to try.
You could use the paper plate body would be good for almost any kind of animal. You could add the ears on the side and make it a sheep, or add rounded ears, paint it brown or black and make a bear.
There are affiliate links in this post. I will receive a small commission if you purchase through these links at no additional cost to you.
How to Make a Paper Plate Bunny Craft for Kids and Preschoolers
Supplies
- 1 – small and regular sized value paper plate
- Scissors
- Markers, crayon, or paint
- Clear tape
- 1 – cotton ball
- Liquid or stick glue
- Glitter glue – optional

Make an Easy Rabbit Paper Craft for Preschoolers Using a Paper Plate
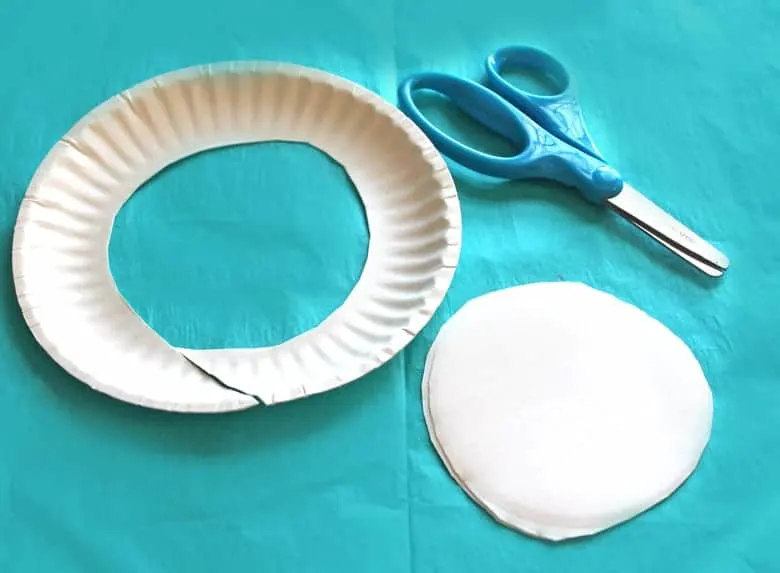
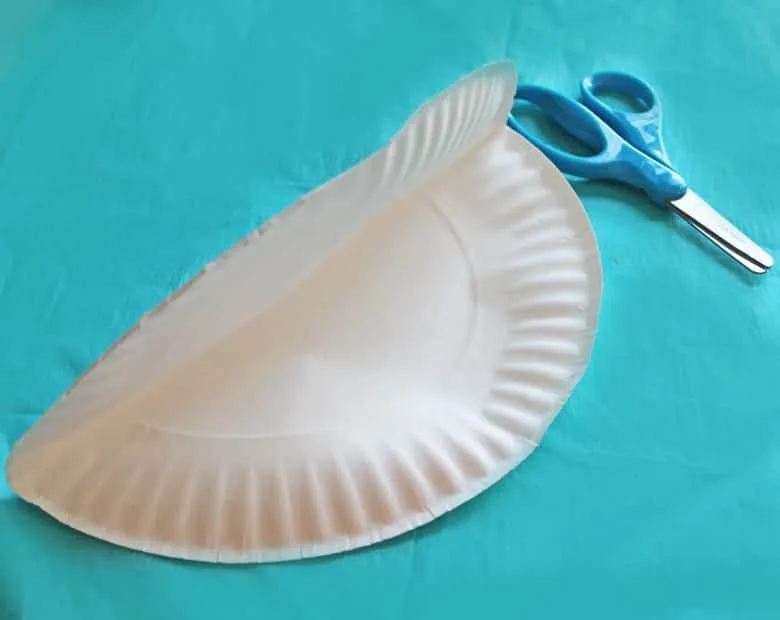
First, cut the ribbed edge off the small plate. Next, fold the regular plate in two. Cut out the center of the plate. Then, cut the bottom edge of the plate.

Then, draw 2 ears with a marker or crayon on the circle part you cut out of the large plate. You can either draw one and trace the other or cut 2 out and then trim to match.

Next, color the body, ears, and face. Then add details to the face, eyes, nose and mouth. We used markers and crayons but you could use paints or gel pens too.
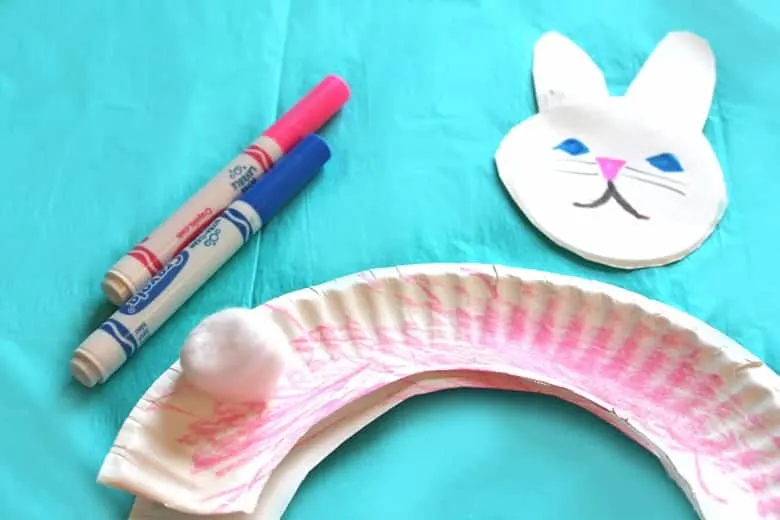
Then, take the two pieces of the body and put a piece of tape in the center of the back. Glue the ears on the back of the head. Next, Glue the head to the body one side and the cotton ball for a tail on the other.
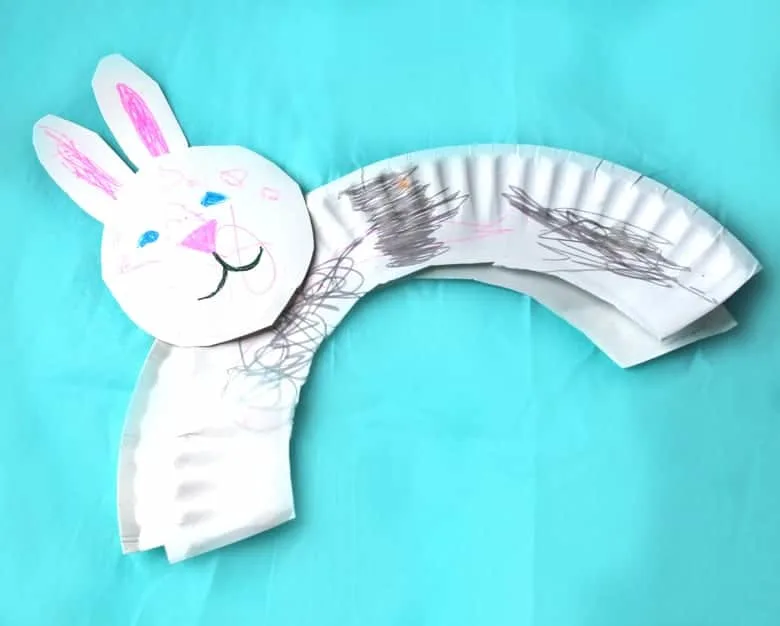
Now your cute paper bunny is ready to play. We made a mini bunny too, just use the smallest plate for the body and use the center for the head. We used some of the extra plate from the larger bunny to make the smaller ears.
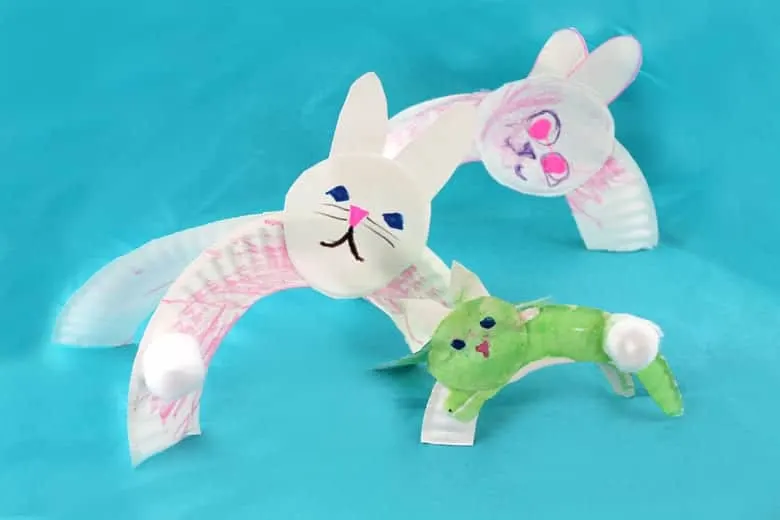
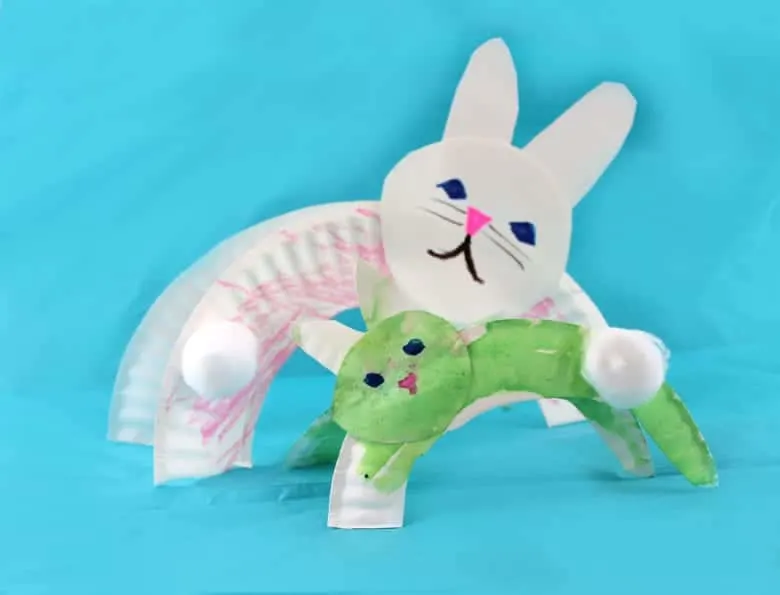
Enjoy your paper plate bunny craft.
Pin for Later

More Spring Crafts for Kids
- Fingerprint Cherry Blossom Tree Craft
- Hyacinth Craft for Kids
- Handprint Spring Tree Craft
- Tissue Paper Spring tree Craft
- Spring Chick Craft for Kids
- Spring Kid Crafts
- List Butterfly Crafts
- 20+ Spring Flower Crafts
- Easter Kid Crafts
- Kite Kid Crafts
- Garden Kid Crafts
- Rain Kid Crafts
- Spring Tree Kid Crafts
- SPRING FLOWERS – 20 PLUS FLOWER CRAFTS
- 20 Fun Spring Tree Crafts to Make
- EASTER CRAFTS – 20 PLUS BUNNY, CHICK, LAMB, AND EGG CRAFTS
- RAINBOW CRAFTS – 20 PLUS COLORFUL CRAFTS
- BUTTERFLY CRAFTS- 20 PLUS BEAUTIFUL CRAFTS
- SIMPLE SPRING CRAFTS
- 20 PLUS BUG CRAFTS – A LIST OF COLORFUL BUG KID CRAFTS
