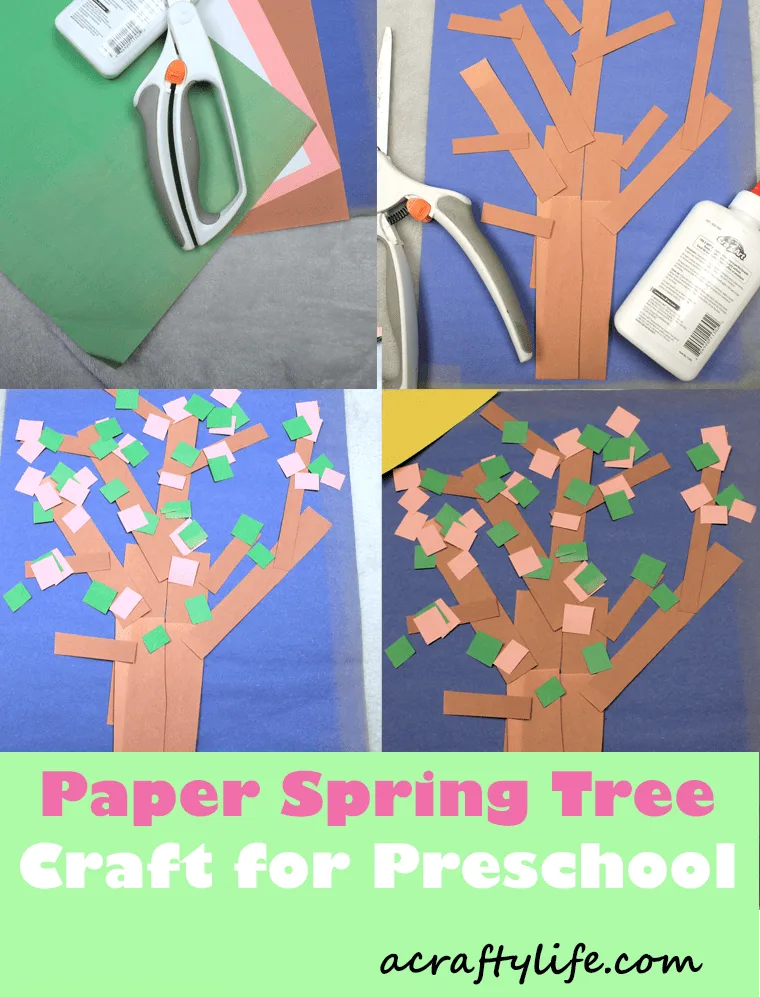
An easy paper spring tree craft for preschool is a great activity for the the start of spring. This paper tree craft needs just a few supplies.
For your construction paper spring tree craft you will need: scissors, glue, and several colors of construction paper. You can always color or paint white paper if you don’t have the right color of construction paper.
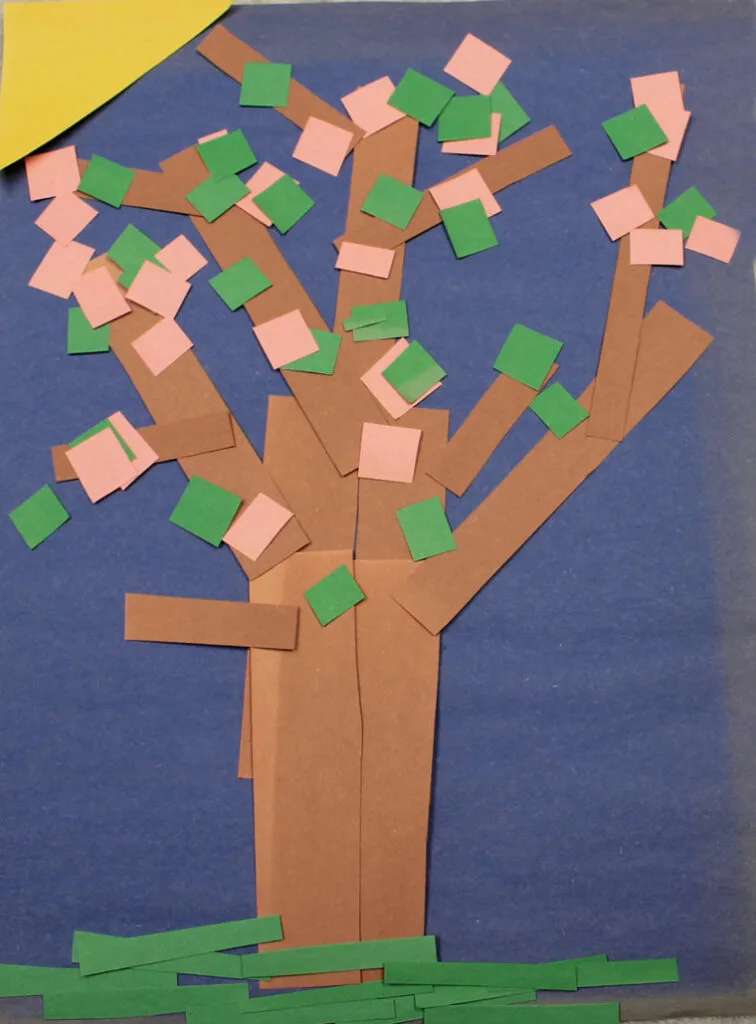
For this spring tree craft, I made cherry blossom or ornamental pear trees. The cherry blossoms usually have light pink blooms and the ornamental pear has white.
In the spring, you can see a small buds of the leaves in green and either the white or pink blossoms. I made pink blossoms using pink construction paper. You could substitute pink tissue paper too.
More Fun Spring Tree Crafts for Preschool to Try
- Easy Cherry Blossom Spring Toilet Paper Roll
- Cherry Blossom Handprint Tree
- Fingerprint Dot Tree Craft
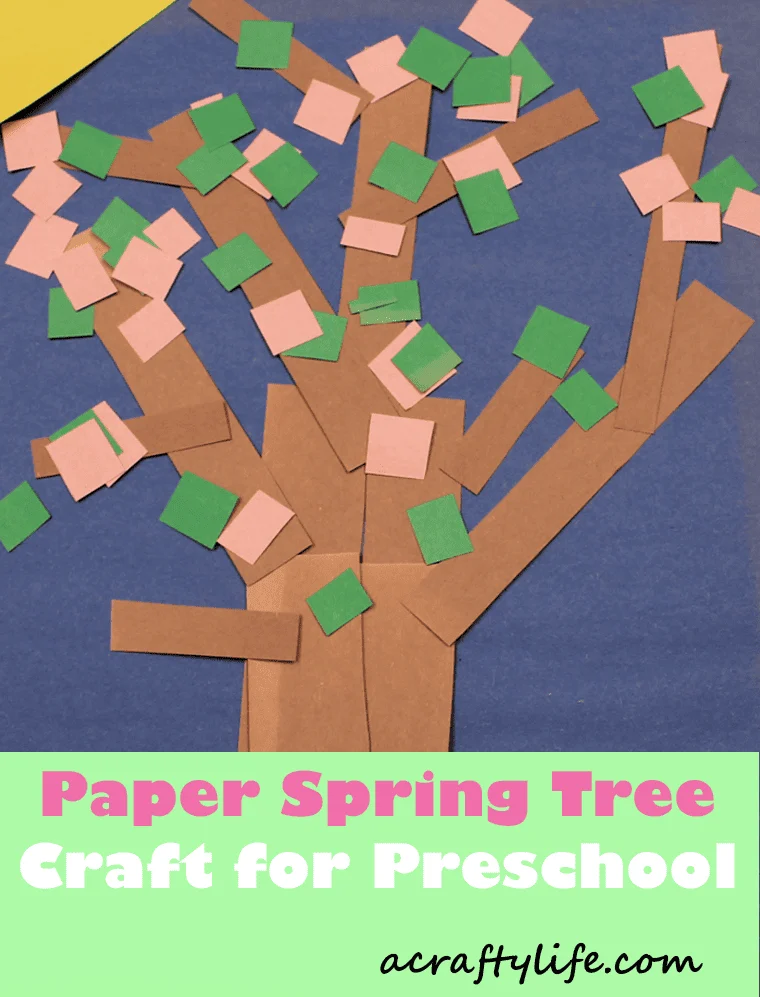
How to Make an Easy Construction Paper Spring Tree Craft for Preschool
Supplies
- safety scissors for kids
- glue
- construction paper: brown, pink, white, green and blue or white for the background

Step 1. Cut Brown Paper
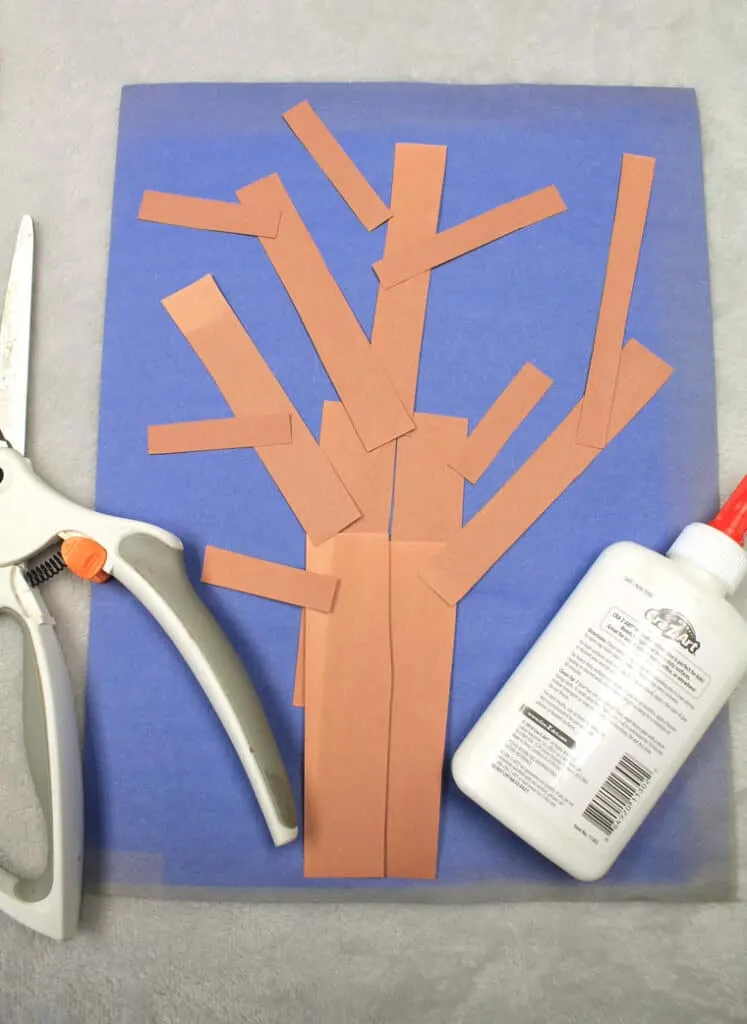
First, cut the brown construction paper into different widths 1/4, 1/2 and 1 in lengths using the short side.
If you don’t have brown paper, you can use tissue paper, cardboard. You can substitute white paper and color or paint it the color need.
Another choice is to color white coffee filters with markers. This would well for the leaves and flowers part.

Step 2. Glue Tree
Then, put the large strips together to form the tree trunk and glue them in place. Then using the small strips make branches coming form the trunk upward at an angle.
Tear or cut the pieces as needed to form branches that get skinny as they go away from the trunk. Glue all pieces in place and let dry.
Step 3. Cut Pink & Green Paper
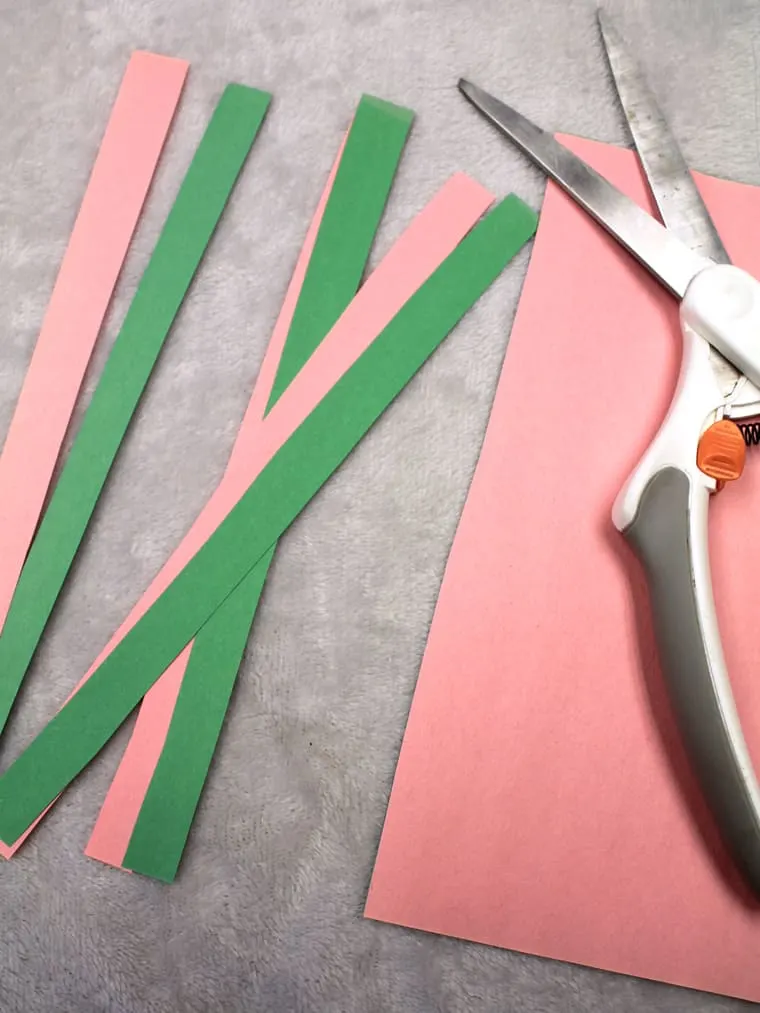
Next, cut or tear small pieces of white and green for the flowers and leaves. If your children, do not have cutting skills cut strips of paper for them and let them tear the paper for the flowers and leaves.
Step 4. Glue Flowers and Leaves
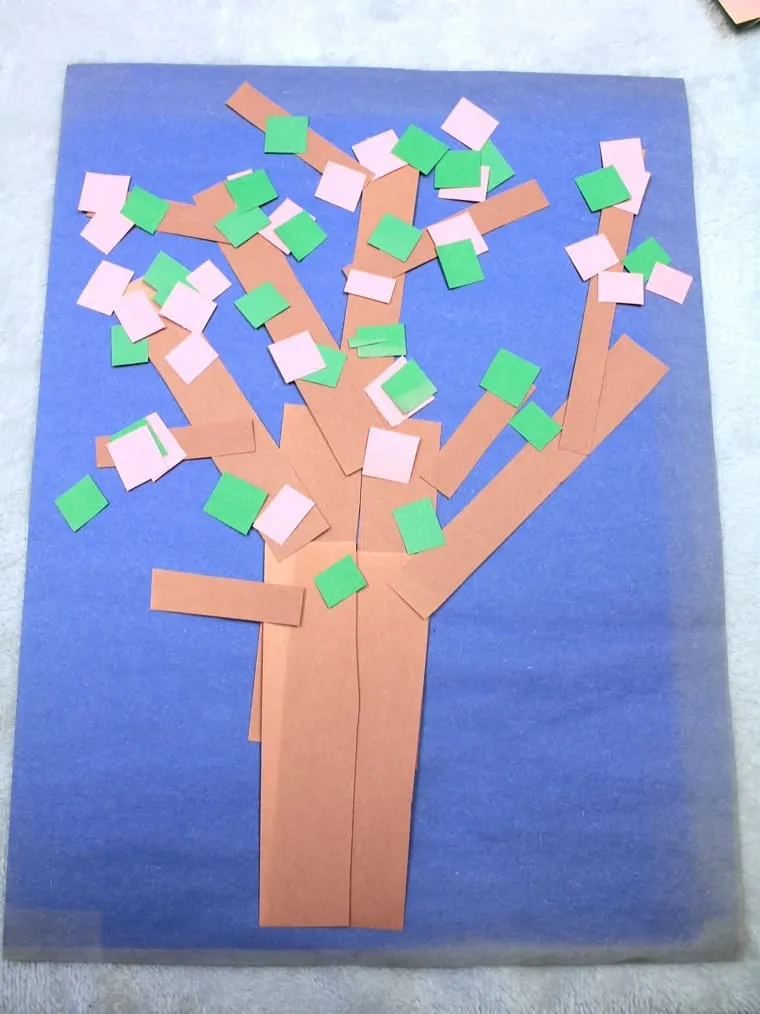
Then, glue the pieces of pink and green paper to the branches of your tree. You might find it easier if you have them put small dots of liquid glue down and then push the paper onto it. Let dry.
Step 5. Added Details
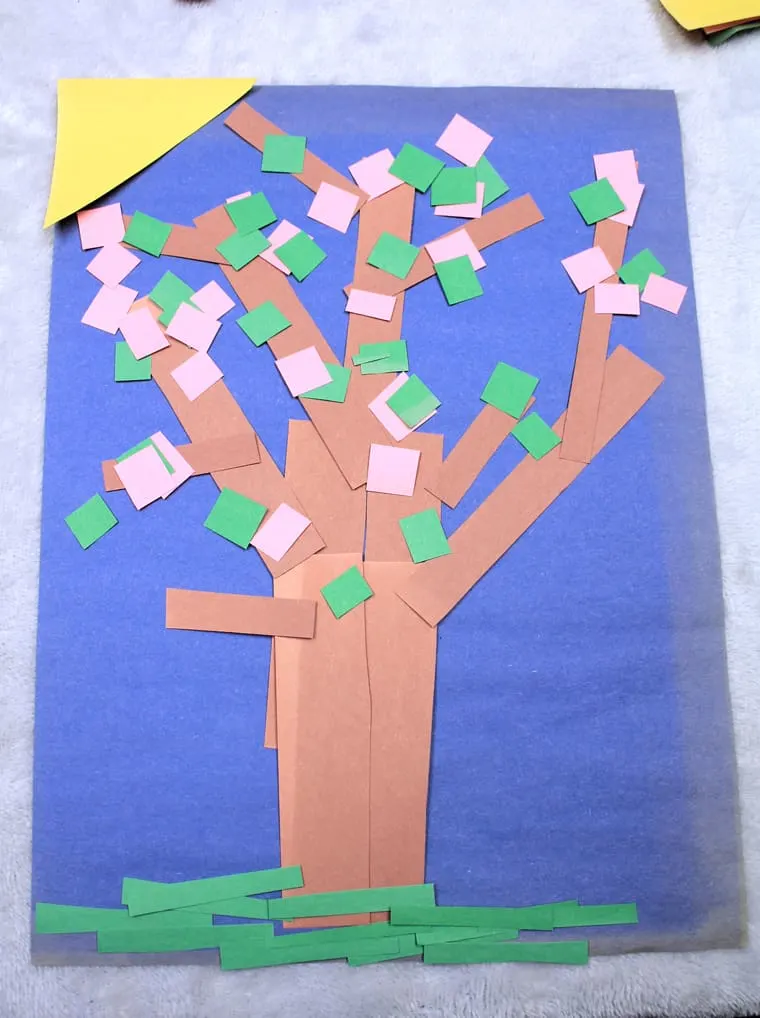
Finally, You can have them add any extra details, like a sun, clouds, or grass to their picture. Let dry.
More Fun Spring Crafts
Pin for Later
